CS 318 Lab 7 – Images
Dear students,
I first offer a brief list of recommendations about things I’ve seen you doing that will cause you unnecessary headache:
- Avoid using spaces in file names. Spaces are not allowed in URLs, so it’s best to just avoid them. They often get translated by our browser into
%20, but they will cause issues when we put links in email messages or texts. Underscores or hyphens are legal, but look for a way to express your page name as a short single word. - Avoid using uppercase letters in file names and IDs. This data isn’t going to be visible to the user, so it doesn’t need to follow language rules.
- Keep your HTML indented. You need to see the hierarchical structure in order to keep it in balance.
- In CSS, put all your properties on individual lines: Don’t do this:
body {
  background-color: purple;
}

p {
  font-size: 18pt;
}
We will almost always be setting multiple properties in a rule, so just prepare yourself for that eventuality. For the sake of you and your fellow humans, multiple properties should not be defined on the same line. Use multiple lines.body { background-color: purple; } p { font-size: 18pt; }
- Always sync your GitHub work before you leave lab. Even if you’re not done. You can work from your personal machine, but only if your files have been pushed from your H: drive to GitHub.
Okay, our focus today is on doing crazy things with images. We’ve already seen the img tag, but there’s much more that we can do with images. For example, let’s use an image for a page’s background! We can do so in CSS:
body {
  background-image: url(tile.png);
}
We’ll make some background images, explore various image formats, and make an animated GIF in the exercises below.
Here’s your TODO list for next time:
- Start the next milestone for your project: User Study and Sitemap.
- Read chapter 5. On a quarter sheet, write down 2-3 questions or observations inspired by your reading. Consider discussing how you will use images in your project.
See you then!

Lab
We have a few goals for today’s lab:
- Explore the differences between three popular image formats.
- Perform some common operations applied to images for the web, including slicing and adding transparency.
- Embed images in page in a variety of different ways.
Let’s get started!
Partners
Create a lab07 directory in your cs318 project. In file partners.html, provide your names.
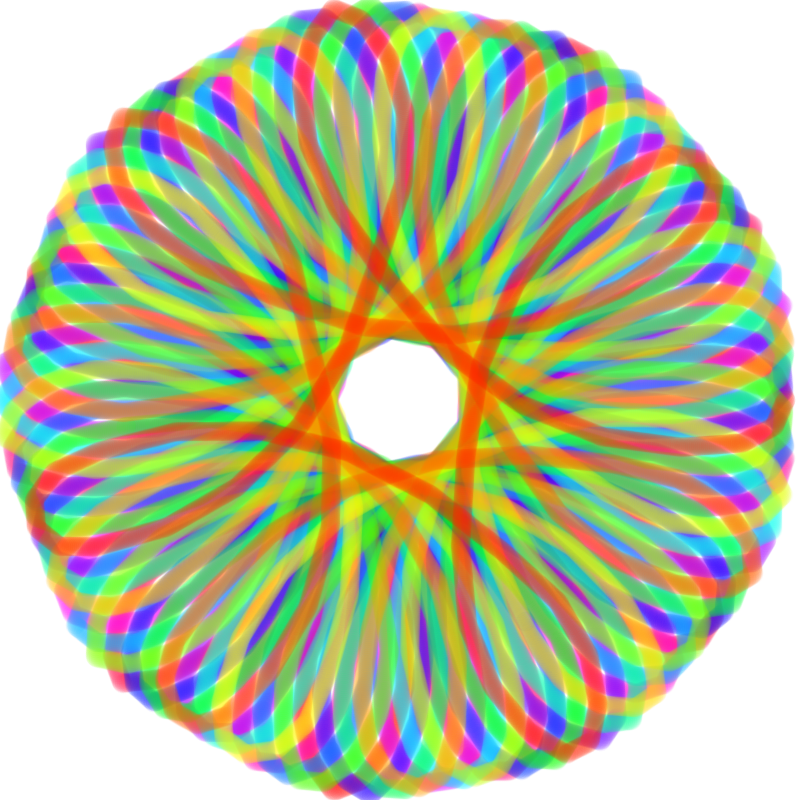
Rainbow
Your first task is to create a page that compares versions of this image in PNG, GIF, and JPG formats:
Follow these steps:
- Create
spiro.htmland add the boilerplate of your page. Load in a stylesheet namedspiro.css. - Create a checkerboard pattern like the one you see behind transparent images. Do so in a 32×32-pixel image using an image editor of your choosing. Color the upper-left and bottom-right quadrants (each 16×16) with the same shade of gray. Color the other quadrants in a different shade. Save this image in your
lab07directory. - Set the
body‘s background to your checkerboard pattern. - Down the spirograph image above and save it in your
lab07directory. - Add an
imgto your page using the PNG version you just downloaded. - Use an image editor to save the image into the GIF format. Add a second
imgelement for this version. - Use an image editor to save the image into the JPG format. Add a third
imgelement for this version.
What differences do you notice between the three formats?
Moon Facts
Create a page of moon facts that looks like this:
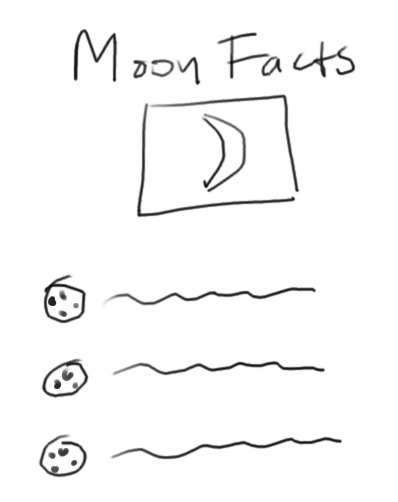
- Create
moon.htmland add the boilerplate of your page. Load in a stylesheet namedmoon.css. - Give the page an overall heading of
Moon Facts. - Find a list of a few moon facts, and structure them in an unordered list.
- Find an image of a star field, save it to your
lab07directory, and add it as thebackground-imageofbody. - Adjust the text color so it can be read on the dark background. If you set the color in the
body‘s style rules, all text will be affected. - Restrict the content to a narrow strip by setting the
body‘swidthto some small number like500px. - Center the entire body element by letting its
margin-leftandmargin-rightbe automatically calculated—by setting them toauto. - Center the overall heading using the
text-alignproperty. - Download this moon image from NASA and save it in your directory. Use an image editor to scale it to 32×32 or smaller, give it a transparent background, and save it as a PNG.
- Style the unordered list to use your moon image for its bullet. Use property
list-style-image. - Tweak the font size of the list items to better match the bullet size.
- Set the page’s favicon with a
linktag much like the one you used for the stylesheet. Useiconfor therelattribute andimage/pngfor thetypeattribute. - Download Fred Espenak’s image of the moon’s phases and save it in your
lab07directory. We will turn this image into an animated GIF with a transparent background! Open it in Photoshop. - Let’s start by making the background transparent. In the layers panel on the right, unlock the background layer. Select the magic wand tool by hitting
Shift-Wa couple of times. Click on the black background and cut or clear the selection. - Now let’s slice up the image into individual frames. Hit
Shift-Cuntil the Slice tool is selected—it looks like an X-acto knife. Draw a rectangle that loosely fits around the 15 phases. Leave out the excess pixels on the left and right margins. - Right-click on the slice you just made and select Divide Slice. Divide it into 15 frames.
- Click File / Export / Save for Web. Select PNG-24 as the output format. Click Save and set Slices to All User Slices. Save the images to your
lab07directory. - Making an animated GIF in Photoshop is too much work, in my opinion. Let’s close it and open The GIMP. If The GIMP is not available, fall back on an online tool like Ezgif.
- Click File / Open as Layers and open all 15 frames at the same time. You should see an image with all the frames stacked on top of each other.
- Click File / Export As, navigate to your
lab07directory, and export as a file namedphases.gif. (You may get a warning about the frames not all being the same size. Just click Crop.) Select As animation and Loop forever in the options dialog. Set Frame disposal to One frame per layer to clear the previous frame when drawing a new one. - Whew! Now add an
imgelement between the heading and the list to show your animated GIF.
Farm
Create in farm.html and farm.css a page that looks like this:

Assemble the page in any order you please, but accomplish this list of tasks:
- Use Kathy Zinn’s farm photo as a non-repeating background. Use the 2048×533 resolution.
- Embed the text inside a
divwhose top margin is set so that it appears below the background image. - Use Freaking News’ cow photo as a non-repeating background for the
div. Make sure thedivis tall enough to show the full cow. - Use
text-alignto align the text to the right. - Tweak the colors to match the theme.
The links don’t really need to link to anything.
Publish
Now, open GitHub Desktop and select your cs318 project. You should see a list of changes. Commit them and synchronize. Verify that all pages have been uploaded by visiting https://USERNAME.github.io/cs318/lab07 in your browser.
Validate
Now, visit the W3C CSS Validator. Paste in the URLs to your pages, one at a time, and address all concerns raised by the validator. Fix your changes on the local machine, commit, and sync, until the validator reports no issues.