Ask a Scientist Talk
This is the manuscript of a talk I gave at the Acoustic Cafe on April 20, 2016, as part of UWEC’s Ask a Scientist speaker series. Thanks, Paul Thomas, for the opportunity to share my work!
Introduction
Hi, I’m Chris. I teach machines. I also teach people to teach machines. I like both of these jobs a lot, but one is definitely easier than the other. Tonight we are gathered to discuss Computing in the Third Dimension. We’ll talk about 3D modeling and printing tonight, but also about computer science. If you’d like to leave now, go ahead.
One of the reasons I became interested in 3D printing is because I failed at being the son of a mechanic. My dad fixed cars right at our home, and his shop was filled to the rafters with awesome tools. He’d use all those tools expertly as the car surgeon that he was, even wearing a mask sometimes to avoid brake dust. On the weekends, we’d use those same tools to build stuff: pinewood derby cars, Trojan horse school projects, and bird feeders. I had it so good. However—recall that I said I failed at being a mechanic’s son—I dreaded getting called out to my dad’s shop to help him. Why? I can recall three reasons. First, grease. Give me dry dirt any day, but no, not the wet dirt that sticks to you and repels water. Second, dad’s tools required lots of practice to use but practice wasn’t cheap. There wasn’t enough lumber and other hardware to sustain my mistake-based learning style. When there weren’t enough raw materials lying around, I relied on other objects. For example, the valves of my trumpet were sticking once so I took my dad’s sandpaper and tried to smooth them down. That was bad and expensive practice. The third reason I didn’t like helping my dad is that the computer inside our house needed me.
I found on our computer the antithesis of my father’s shop. There was no wet dirt. Mistakes were cheap, because virtual resources were in infinite supply, and you didn’t have a pile of waste looking up at you and making you feel guilty when you finished a project. But the biggest deal was that the tools on our computer were different. Sure, there were many of them, as many as were in my father’s shop. But in using them for the functions they provided, I learned about the underlying structure behind them. All these software tools did different things, but they were all fabricated out of a common language of logic and math: code. I thought if I could learn to write code, I could create my own software tools and use them to make my own games, animations, and art. And so it happened, I learned how to program. My virtual cuts were always at perfect 90 degree angles, I could change colors and sizes of my creations at whim, and I became a master of my own virtual shop.
But virtual things don’t run down a track. You can’t roll a virtual thing across the table at the front of your classroom and have a bunch of Greek soldiers fall out. You can’t feed real birds. At least, not without a 3D printer. And that is where we now turn our focus. But what I’ll share tonight is not so much about 3D printing so much as the input 3D printers expect us to feed them. If you’d like to leave now, go ahead.
3D Models
The input to a 3D printer is a 3D model. You know how when you zoom in on an image, you see that what’s behind it is just a bunch of squares each having a certain color? We call these pixels. When you project the squares onto a small enough area like a screen or piece of paper, you don’t even realize they are there. 3D models are a lot like these images, but instead of pixels, they are made up of… Well, let’s investigate.
What would happen if you scaled a 3D model up so large you started to see its primitive elements? Here’s a hyper-inflated soccer ball from Nevada, Iowa:

Maybe 3D models are made out of hexagons? Close. But we can go simpler. The restaurant Subway stumbled upon a well-known mathematical secret some years ago:
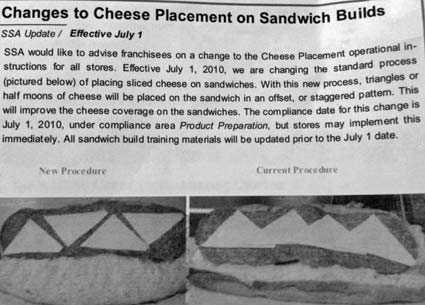
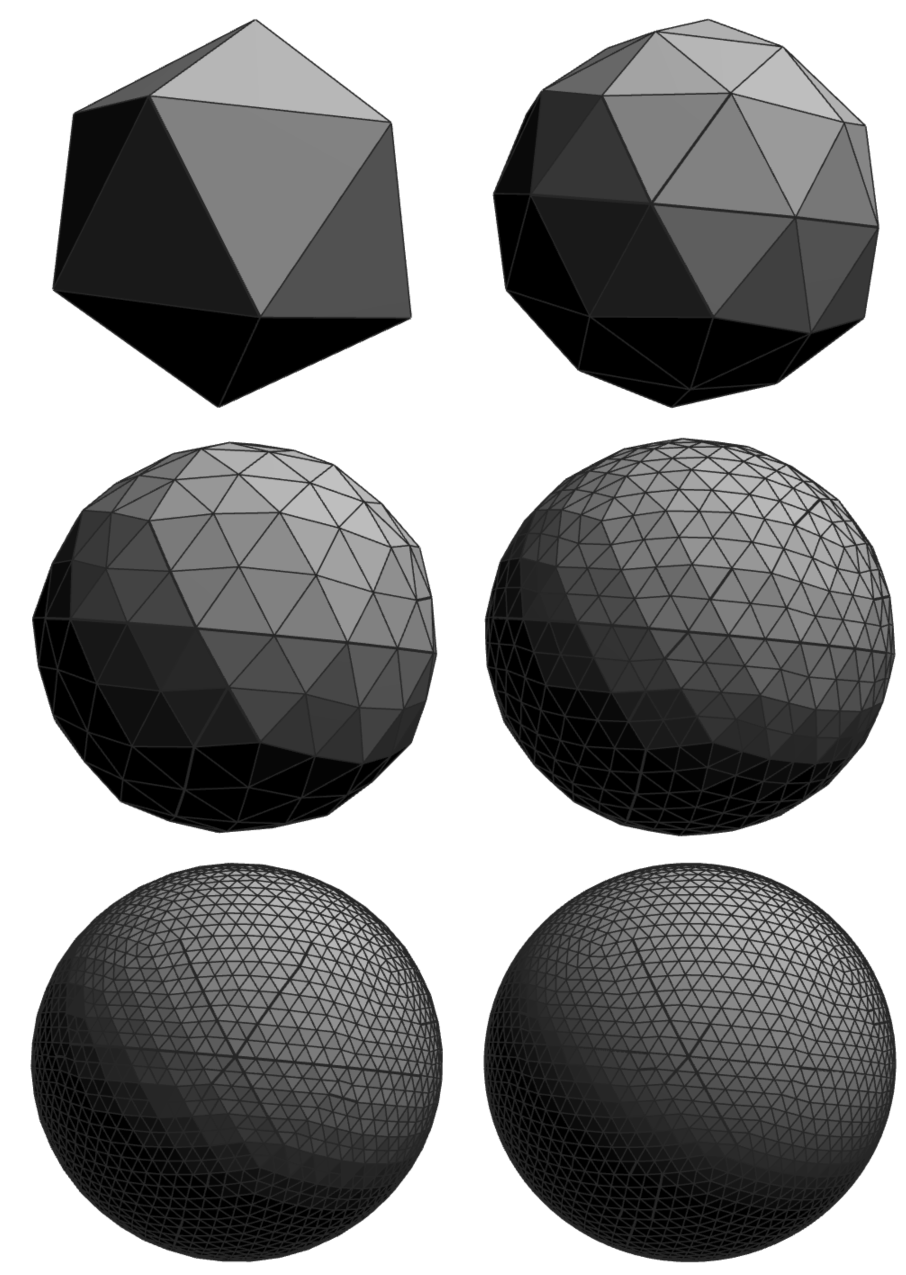
As Subway discovered, any polygon or surface or sandwich can be broken down into triangles. If the object has curves, the triangles just need to be made small enough so that they can’t be seen. Consider this icosahedron. If we break each of its equilateral triangles into four smaller ones and push out the middle one a bit, we can get something that looks more and more like a sphere:
This alien…
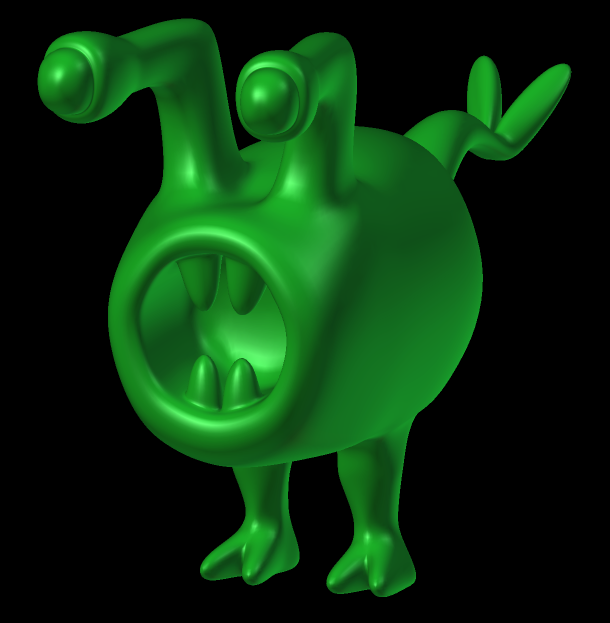
Triangles.

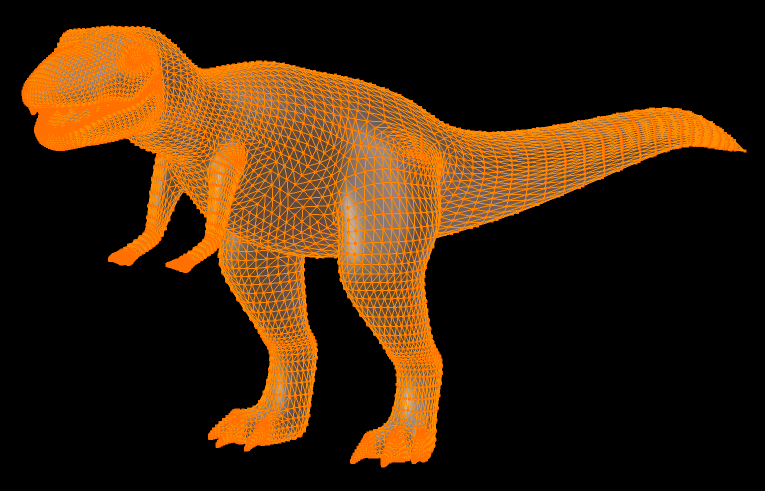
This tyrannosaurus rex…
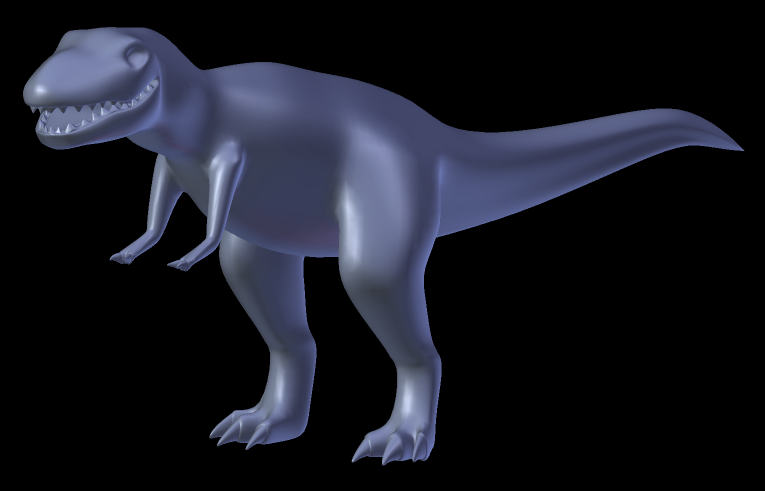
Triangles.
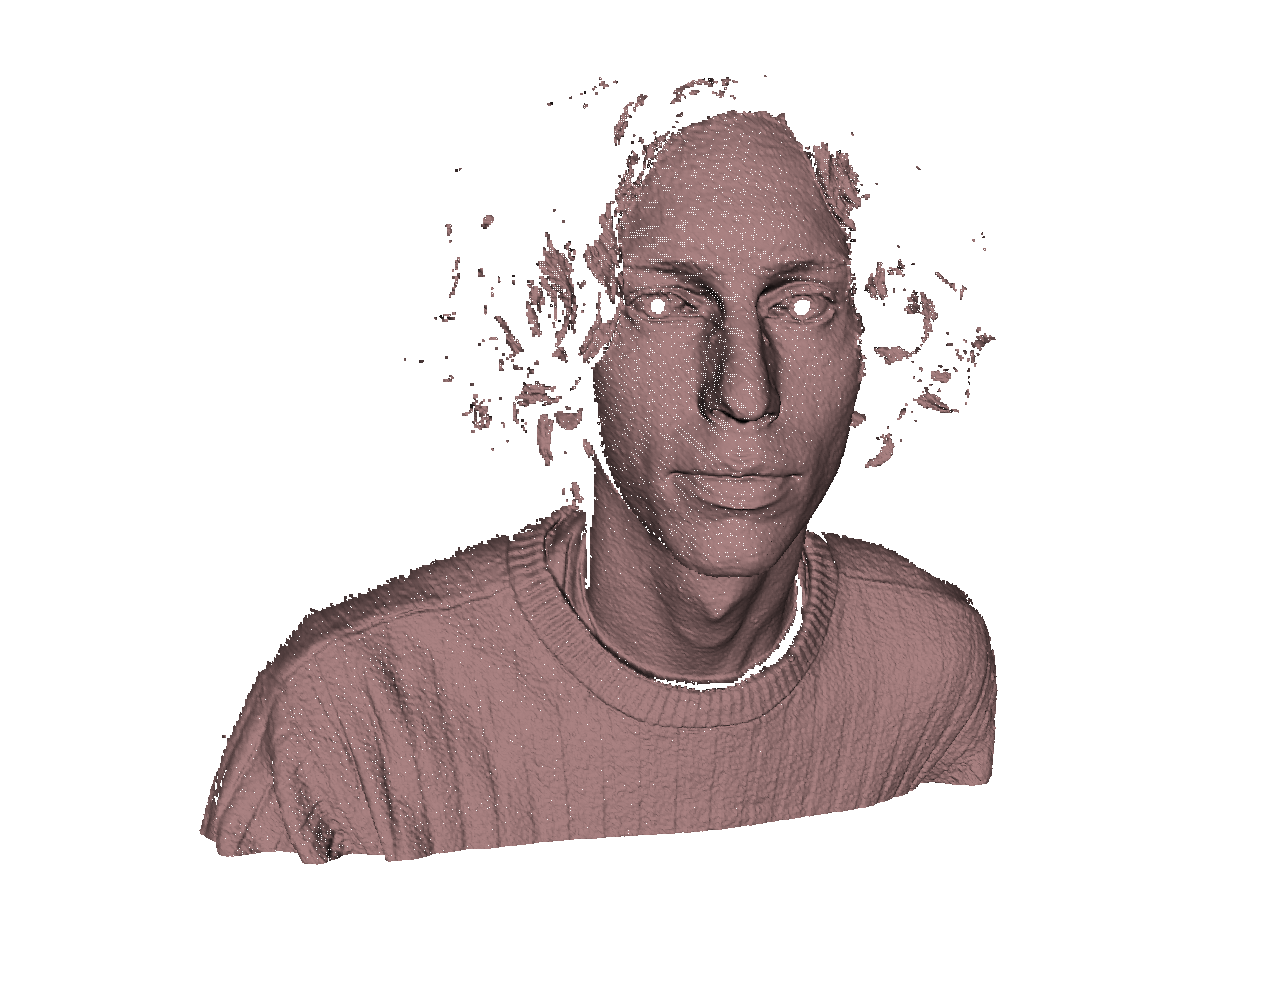
This me…

Triangles.
Learning to Model
Making 3D models then is the art of sewing triangles together. We don’t do this by hand, but use software tools. These tools are complex and sometimes expensive.
Now, if you’ve been following technology news, you’ve probably heard a lot about 3D printing and how it’s going to change everything. I don’t buy it. Unless you know how to sew triangles together into 3D models, unless you know some modeling tools, there’s very little you can do with a 3D printer. You can print things other people make. But then you might as well just let those other people also print those things for you.
Still, schools are buying 3D printers. And students are printing things on them—often things that other people have modeled, since few teachers have the time to learn and teach these modeling tools. I decided it was on me to fix this problem. I needed to develop a modeling tool that is quick to learn, that encourages mistakes and their correction, and that invokes the mathematics and science concepts that teachers cannot drift too far from in their curricular adventures. Enter Madeup, a little programming language for generating 3D models.
Madeup is a language for making things up. We use code to trace out model’s cross sections or skeletons. It draws heavily upon a programming language named Logo, which was taught a lot in the 1980s before computational learning was replaced by Microsoft Office training. In Logo, programmers wrote code to direct a turtle around the screen. Madeup has no turtle, because it’s slow enough without belaboring the point. I think Madeup is best demonstrated by writing some programs together.
Extrude
First, let’s look at a simple model to get an idea for the mechanic of Madeup. Your boss wants a new coaster to advertise your company. A simple square that says, “We do things right.”
We can trace out a square with three basic commands: moveto for jumping directly to a xyz location, move for heading some distance in the direction we’re currently facing, and yaw for changing the direction we’re currently facing. Yawing is like the left and right turning that we are most familiar with. But if one is not bound by gravity and injuries, one call also pitch and roll.
Using these commands, we trace out a square:
moveto 0, 0, 0

move 10
yaw 90

move 10
yaw 90

move 10
yaw 90

move 10
yaw 90
By stitching together these commands in sequence, we have just composed an algorithm for a square. Algorithms are like recipes and designing them is the primary intellectual component of computer science. This algorithm is a good start, but if the boss later says he wants to double the size—right-size—the square, we’ve got to change the side length of 10 four times. It’d be nice if we could just express that repeated move-and-yaw once. We can—with the repeat loop. We also add the extrude command to expand this cross section into the screen 10 units:
moveto 0, 0, 0
repeat 4
  move 10
  yaw 90
end
extrude 0, 0, 1, 3
What if the boss changes his mind and says he now wants a triangle with the slogan, “Faster, better, cheaper. Pick three.”?
moveto 0, 0, 0
repeat 3
  move 10
  yaw 120
end
extrude 0, 0, 1, 3
What if the boss changes his mind and says he now wants a pentagon with the slogan, “We close at 5.”?
moveto 0, 0, 0
repeat 5
  move 10
  yaw 72
end
extrude 0, 0, 1, 3
This would be a great time to make our program more general. We introduce the concept of a variable, a concept that can be understood far earlier the high school algebra when taught in the right way:
n = 5
angle = 360 / n
moveto 0, 0, 0
repeat n
  move 10
  yaw angle
end
extrude 0, 0, 1, 3
Now it’s really easy to make a hexagon. But let’s do something funny with it. Let’s turn it into a rupee, a jewel from the Zelda videogames:
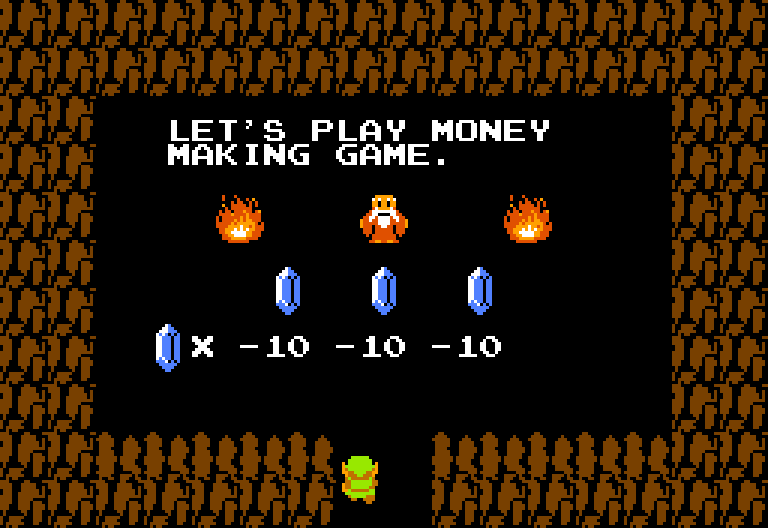
n = 6
angle = 360 / n

scale 1, 1.5, 1
moveto 0, 0, 0
repeat n
  move 10
  yaw angle
end
identity

center

scale 0.7, 0.7, 1
extrude 0, 0, 1, 3
With this first example we’ve got some algebra, an algorithm for making beveled regular polygon extrusions, and something we can print that came from our own brain. That’s extrude. There are other solidifiers too. Let’s look at revolve.
Revolve
This summer I get to go to Peru. I will peruse the Incan wonders there. I don’t know if the Inca programmed computers, but I’m pretty sure the Mayans did. Check out Chichen Itza:

Look at that algorithmic pattern. Let’s create this in Madeup. But this is no simple extrude. When you look at it straight on, you see that it is symmetric across its vertical axis. If we could walk one of the corners and then spin that corner around three more times, we’ve have a nice little place to climb up and keep an eye out for Spaniards. Let’s do that. I’ll start at the top and work my way to the ground and then revolve the cross section.
moveto 0, 0, 0
yaw 90
repeat 10
  move 10
  yaw 90
  move 10
  yaw -90
end
moveto 0, -100, 0
revolve 0, 1, 0, 360
If I wanted to stop more times, I could change a special builtin variable named nsides. But the result looks more like a wedding cake than a temple.
We’ve only made two things so far, but I hope you can start see that Madeup, unlike my father’s tools, provides a way to think about space and shape. In making one thing, I gain experience and perspective that is directly relevant to the next thing I’ll make. When you take away the magic buttons from a tool, the tool starts to share more of its job with you, and you become stronger.
Dowel
Now let’s model a chain link:

Photo courtesy of Toni Lozano.
The solidifier we’ll use is called dowel. If we can traverse the path going through the center of the link, the skeleton, we can thicken that with dowel. How do you want to do this?
moveto 0, 0, 0

repeat 2
  move 4
  repeat 17
    yaw 10
    move 0.4
  end
  yaw 10
end

nsides = 10
dowel
Boxes
Our last model is inspired by Maria Montessori’s pink tower activity. We want to create a tower of 10 boxes. The bottom box has a “radius” of 10. The next has a radius of 9. And so on. The one at the top has a radius of 1. We can place a box by moving to its center and issuing the boxes solidifier. We can set its radius by assigning to the special .radius builtin.
How do you want to do this?
.radius = 10
moveto 0, 0, 0

repeat 10
  .radius = .radius - 1
  move 2 * .radius + 1
end

boxes
Others
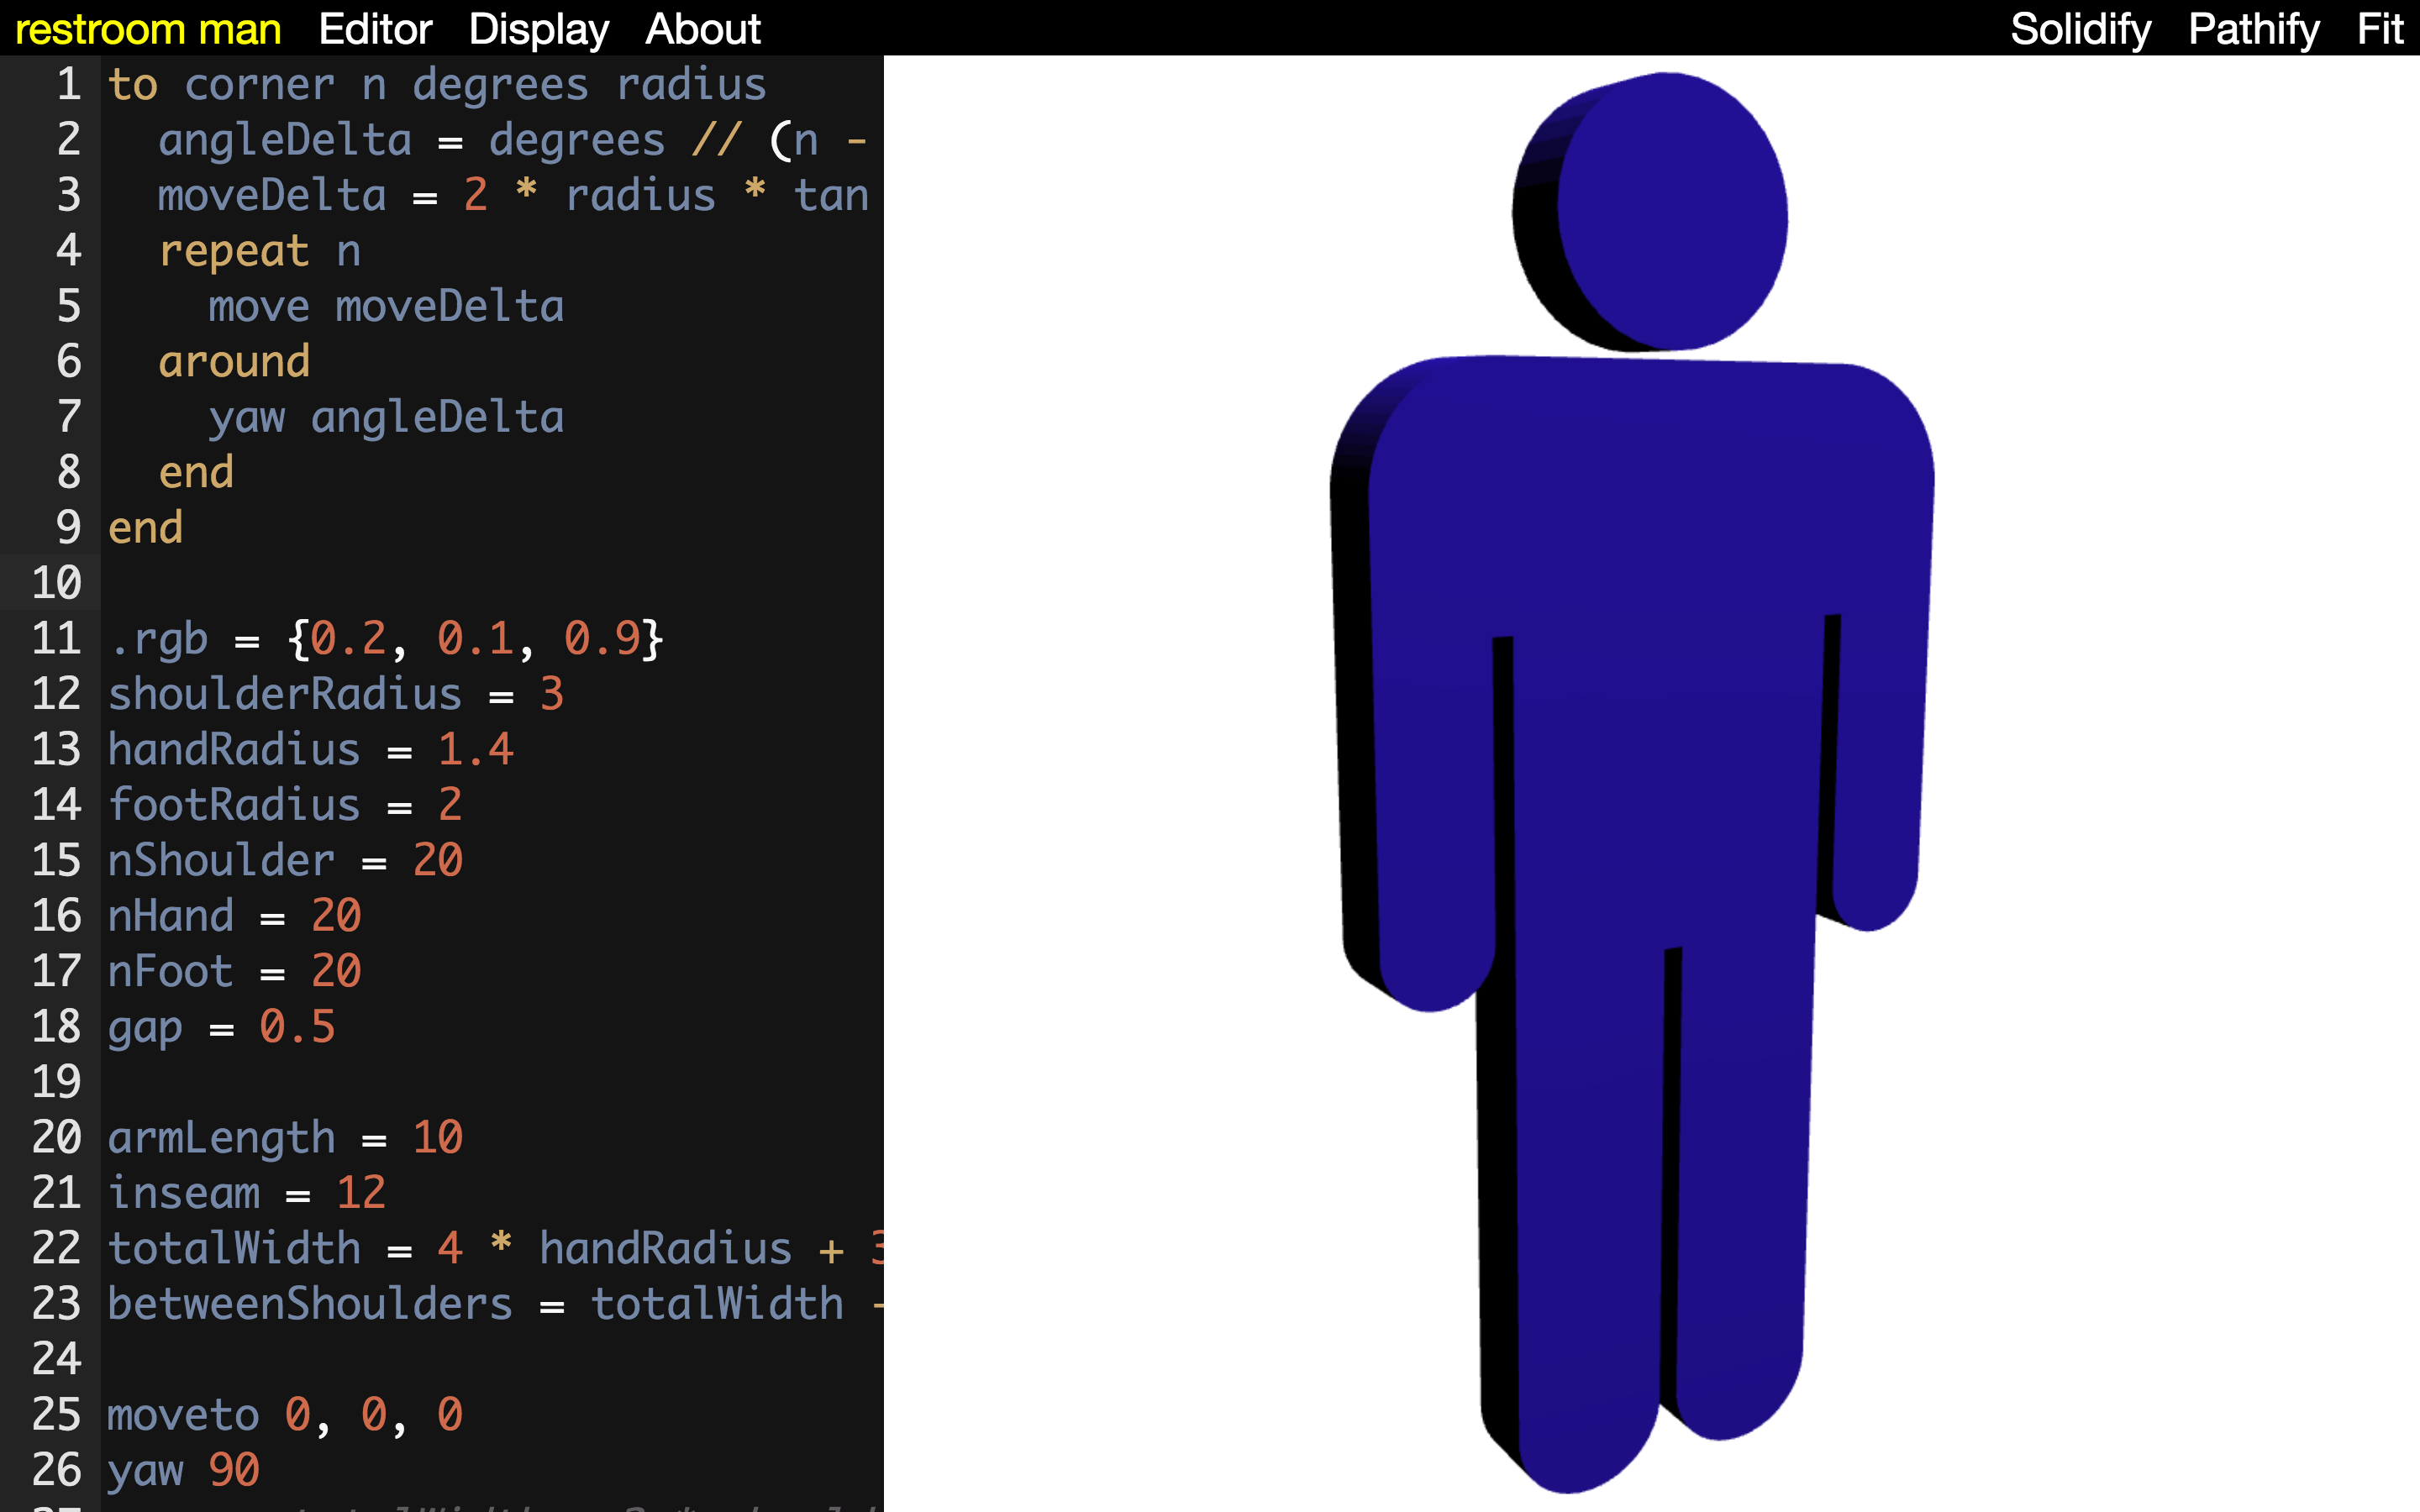
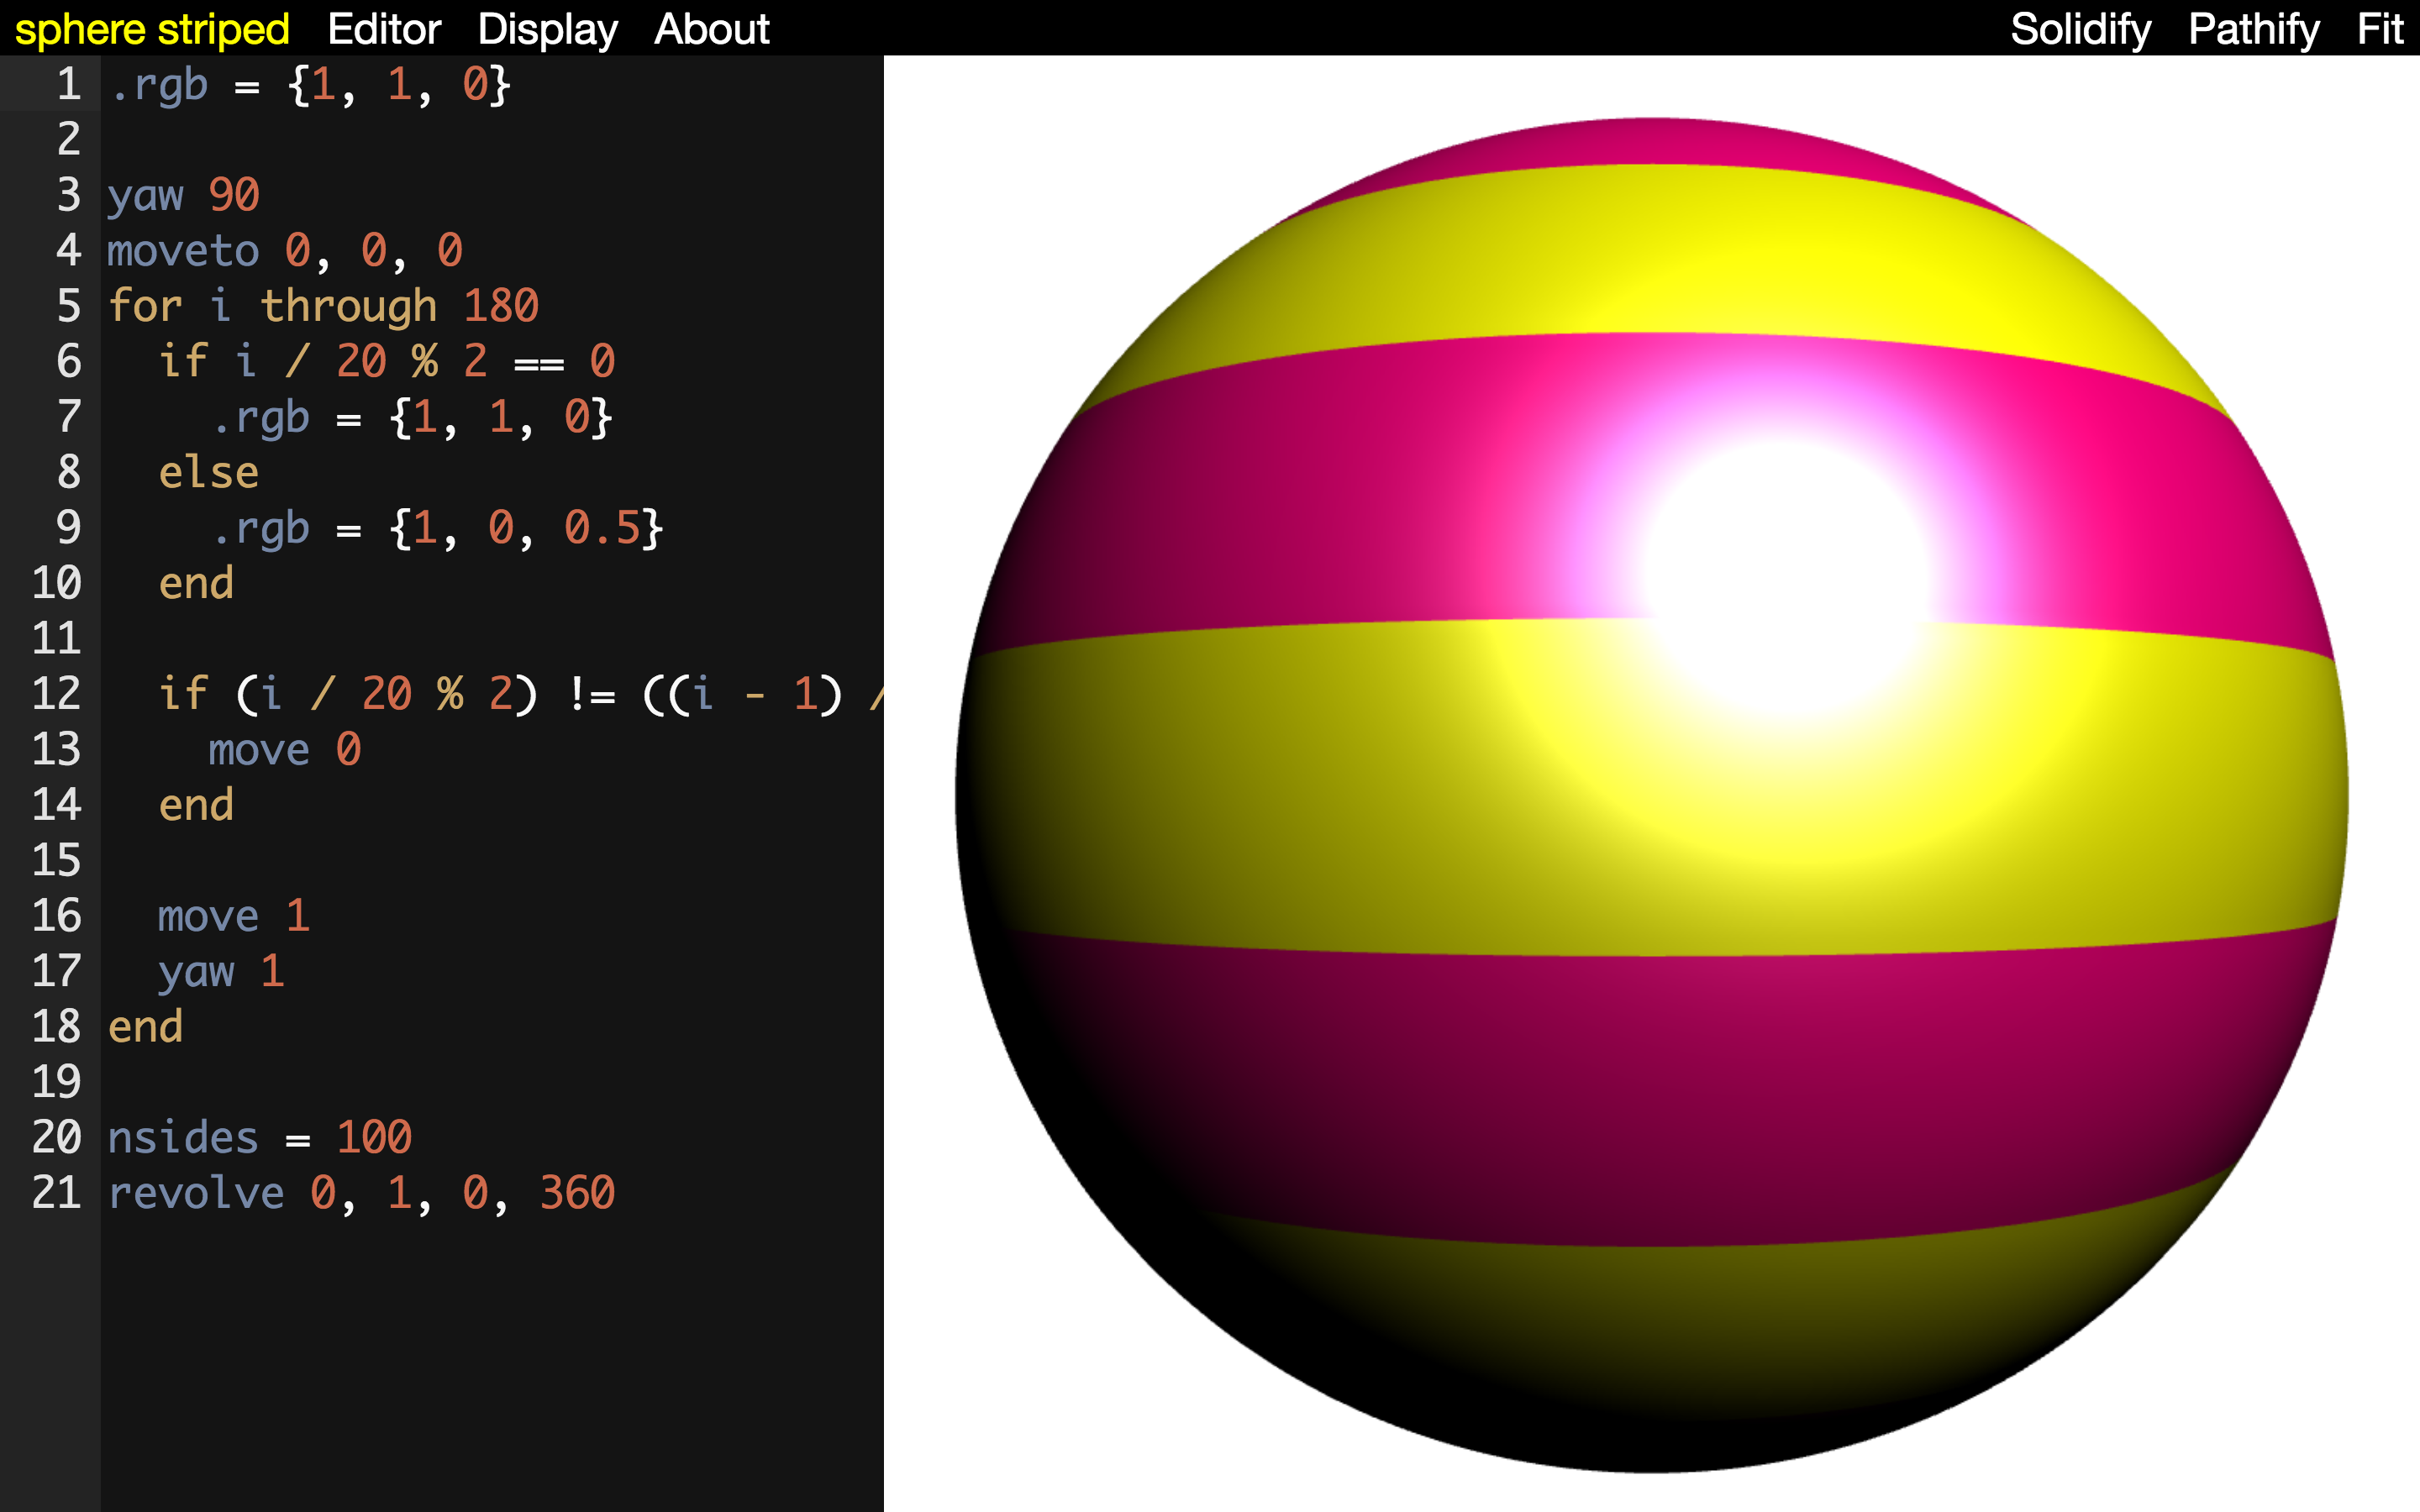
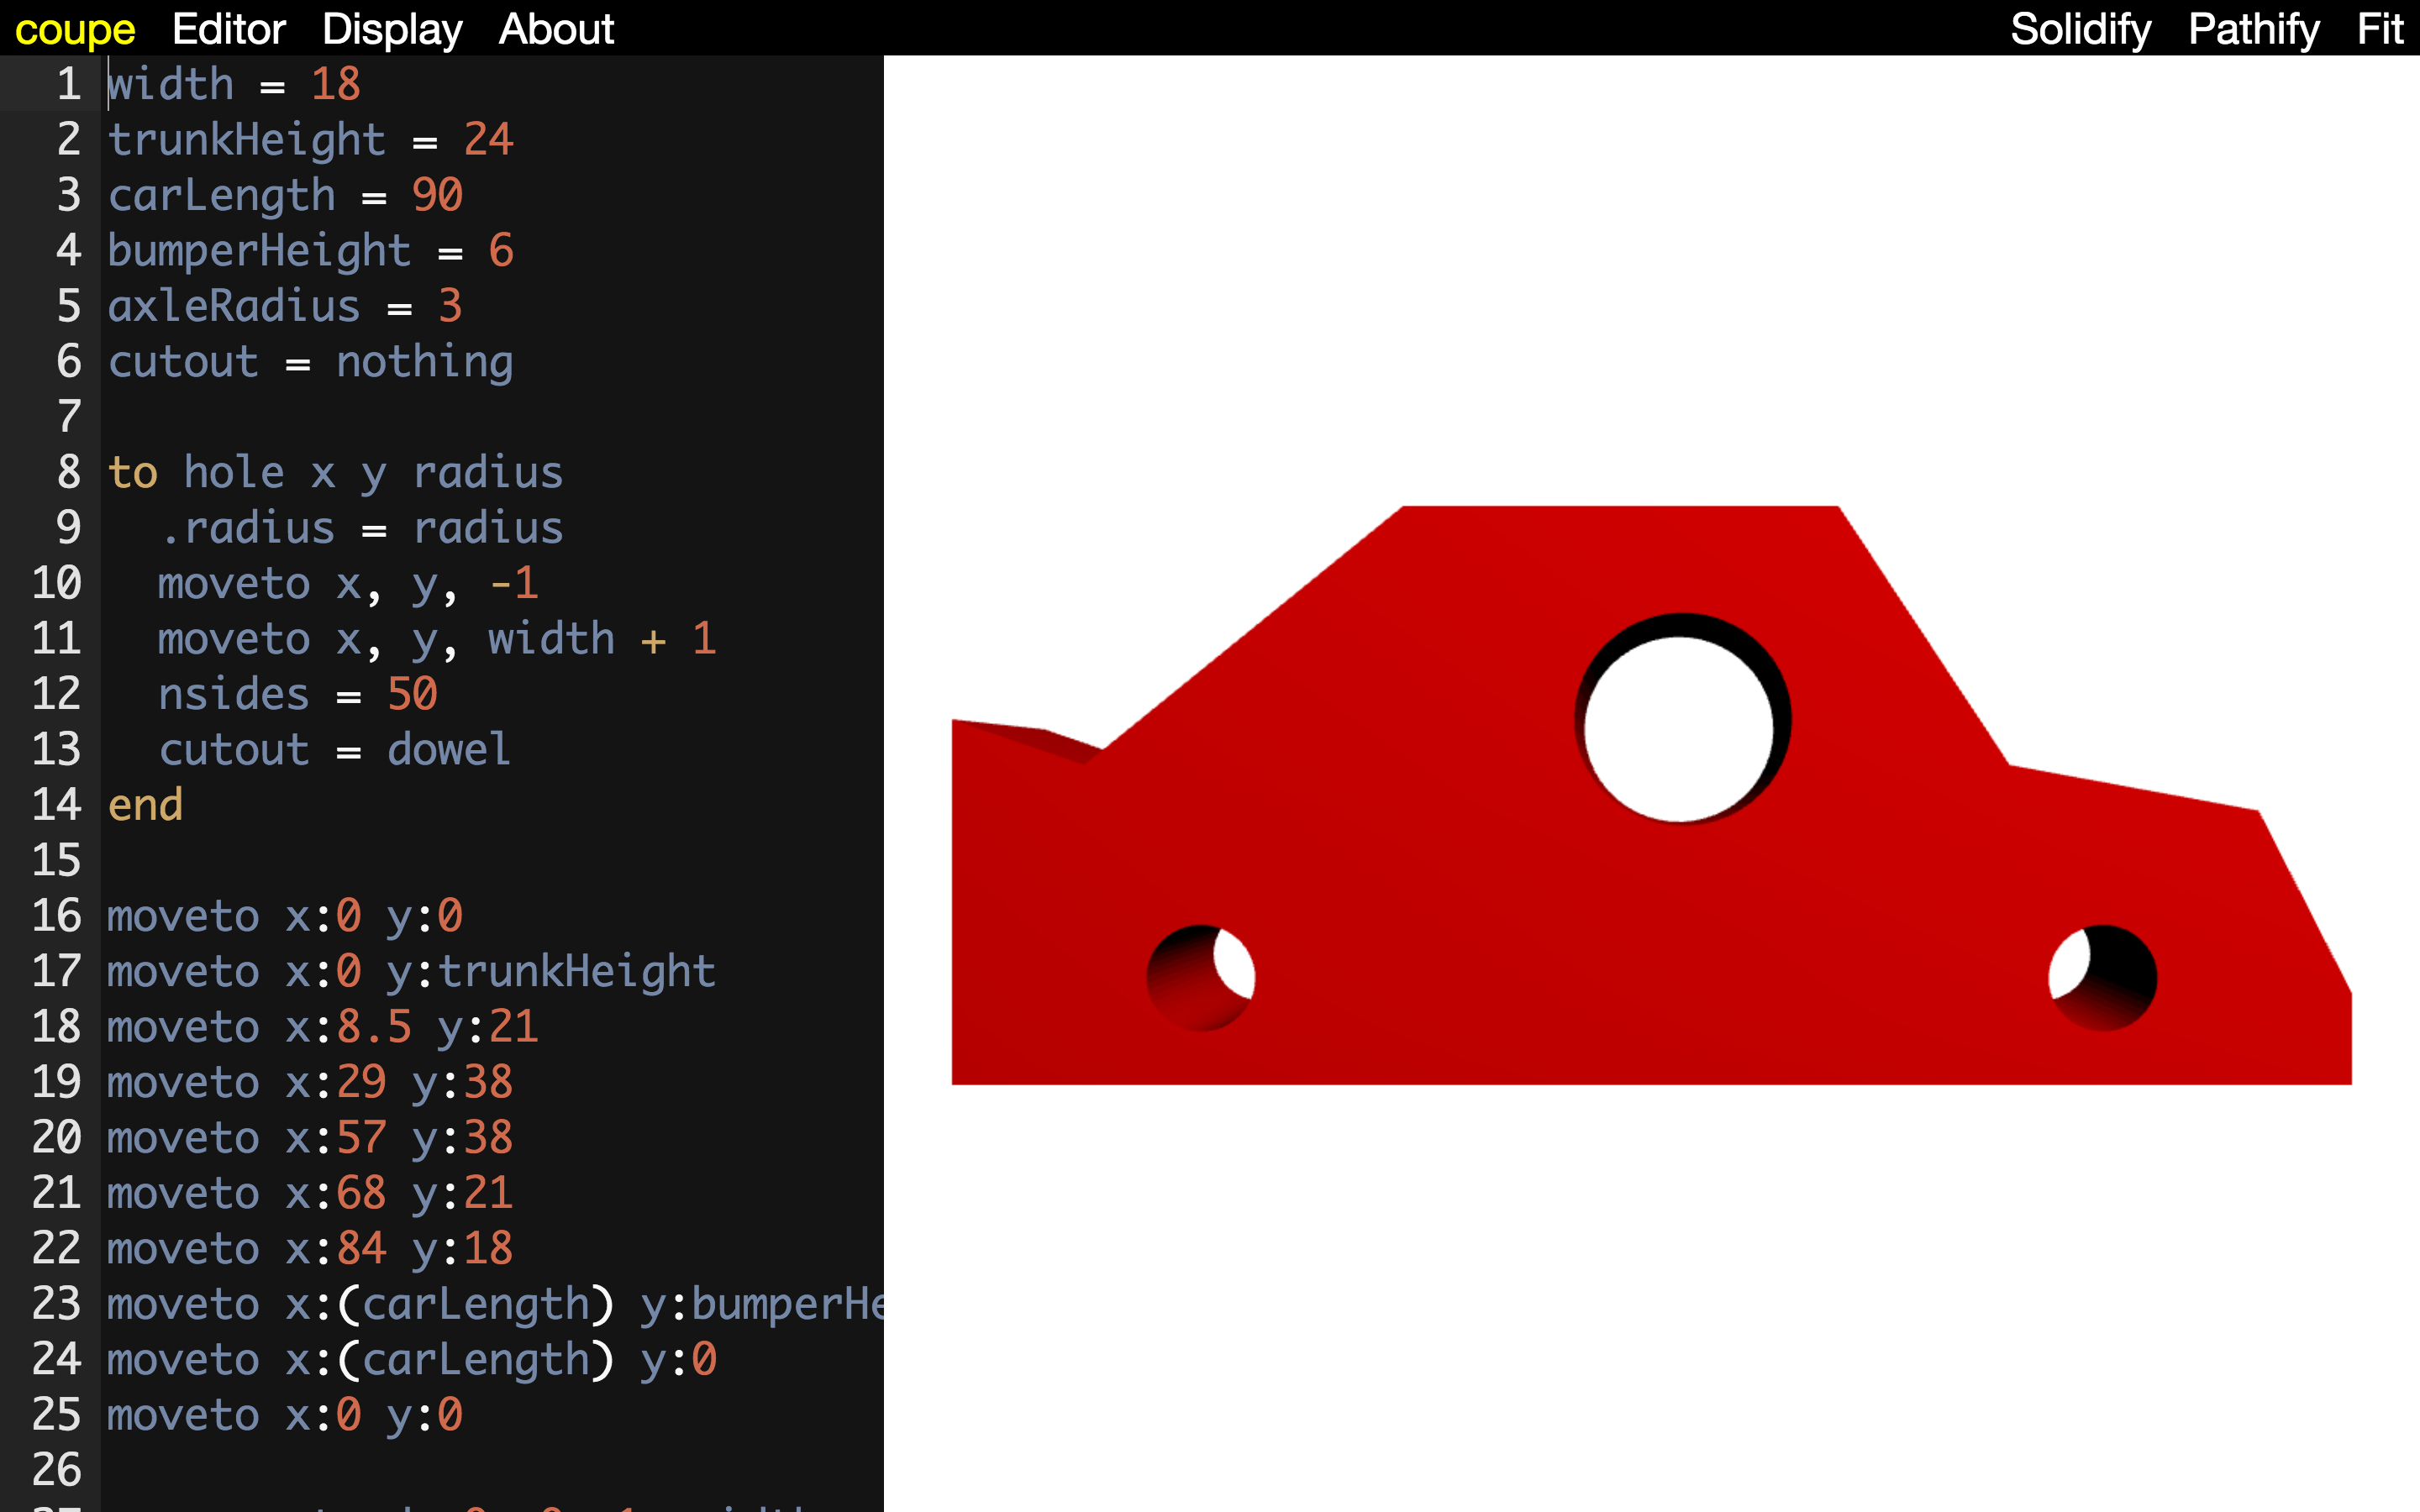
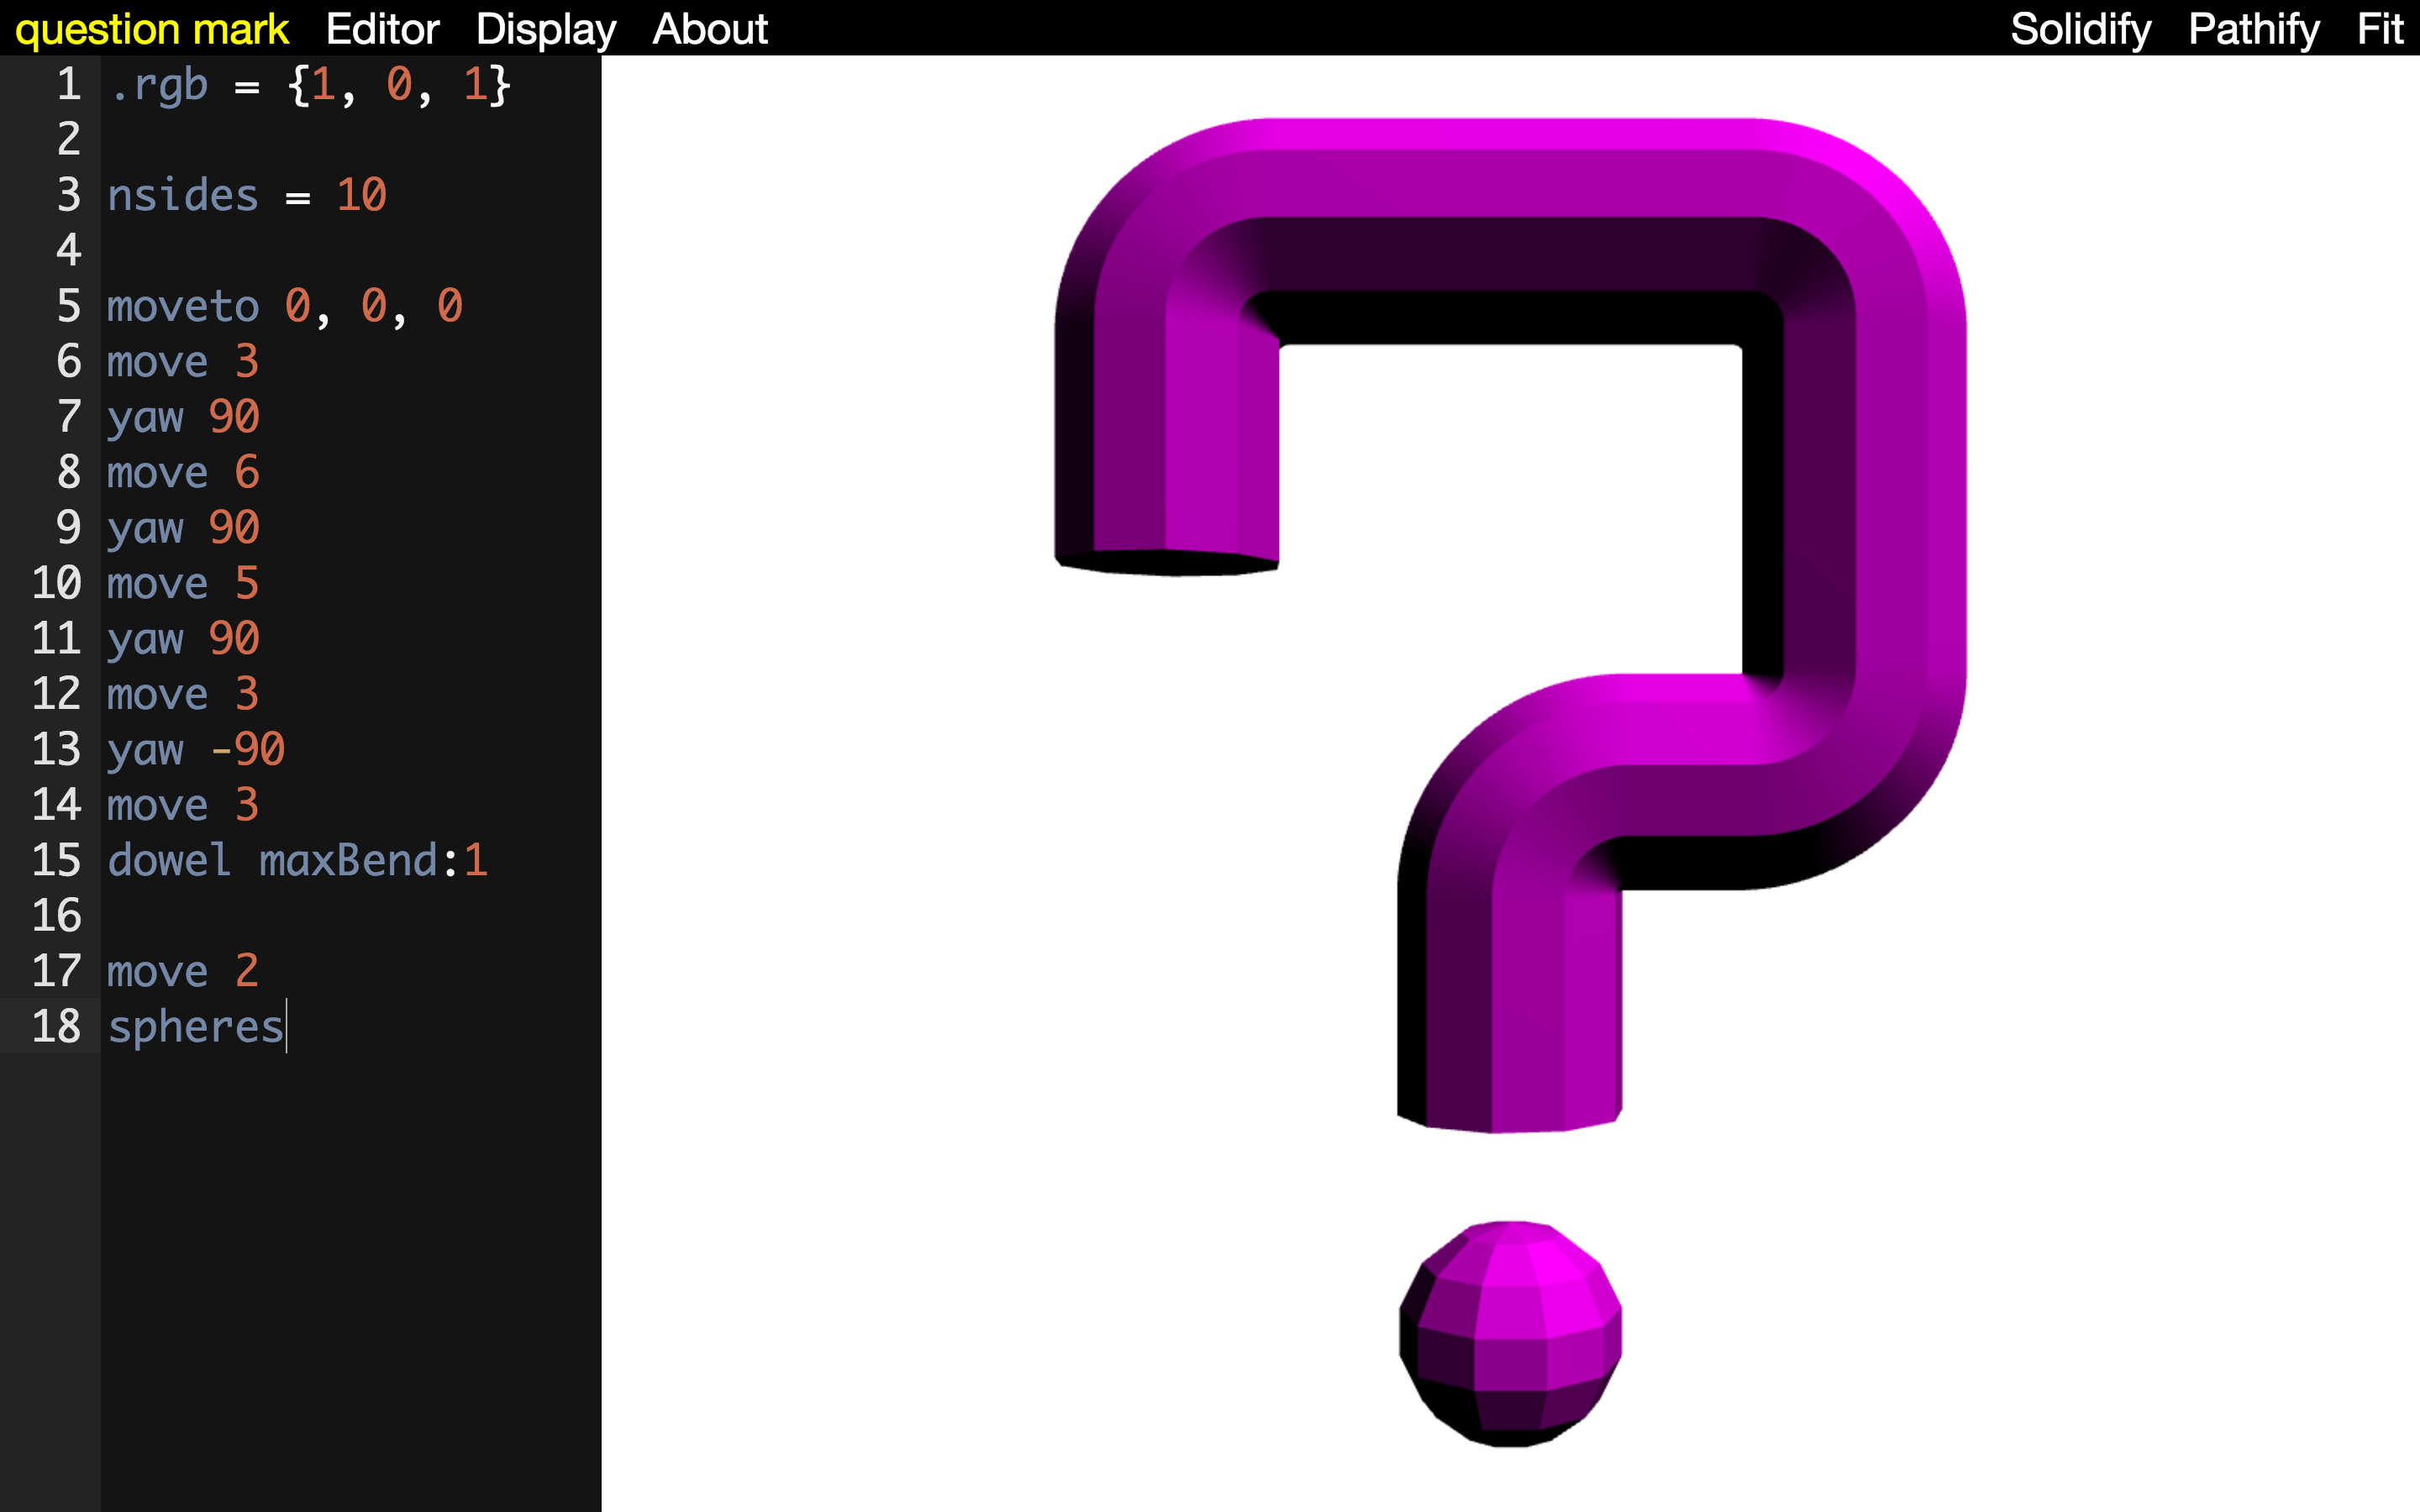
That was just a short preview of some of the things Madeup can do. I’ll breeze through some other examples so you can get a better feel for the powers that it confers to its programmers.


Conclusion
I close with one last image. A couple of weeks ago, my 7-year-old son Lewis and I were having supper with some friends at Aladdin’s. You know, that Mediterranean place? In South Bend, Indiana? The wallpaper had this design on it:
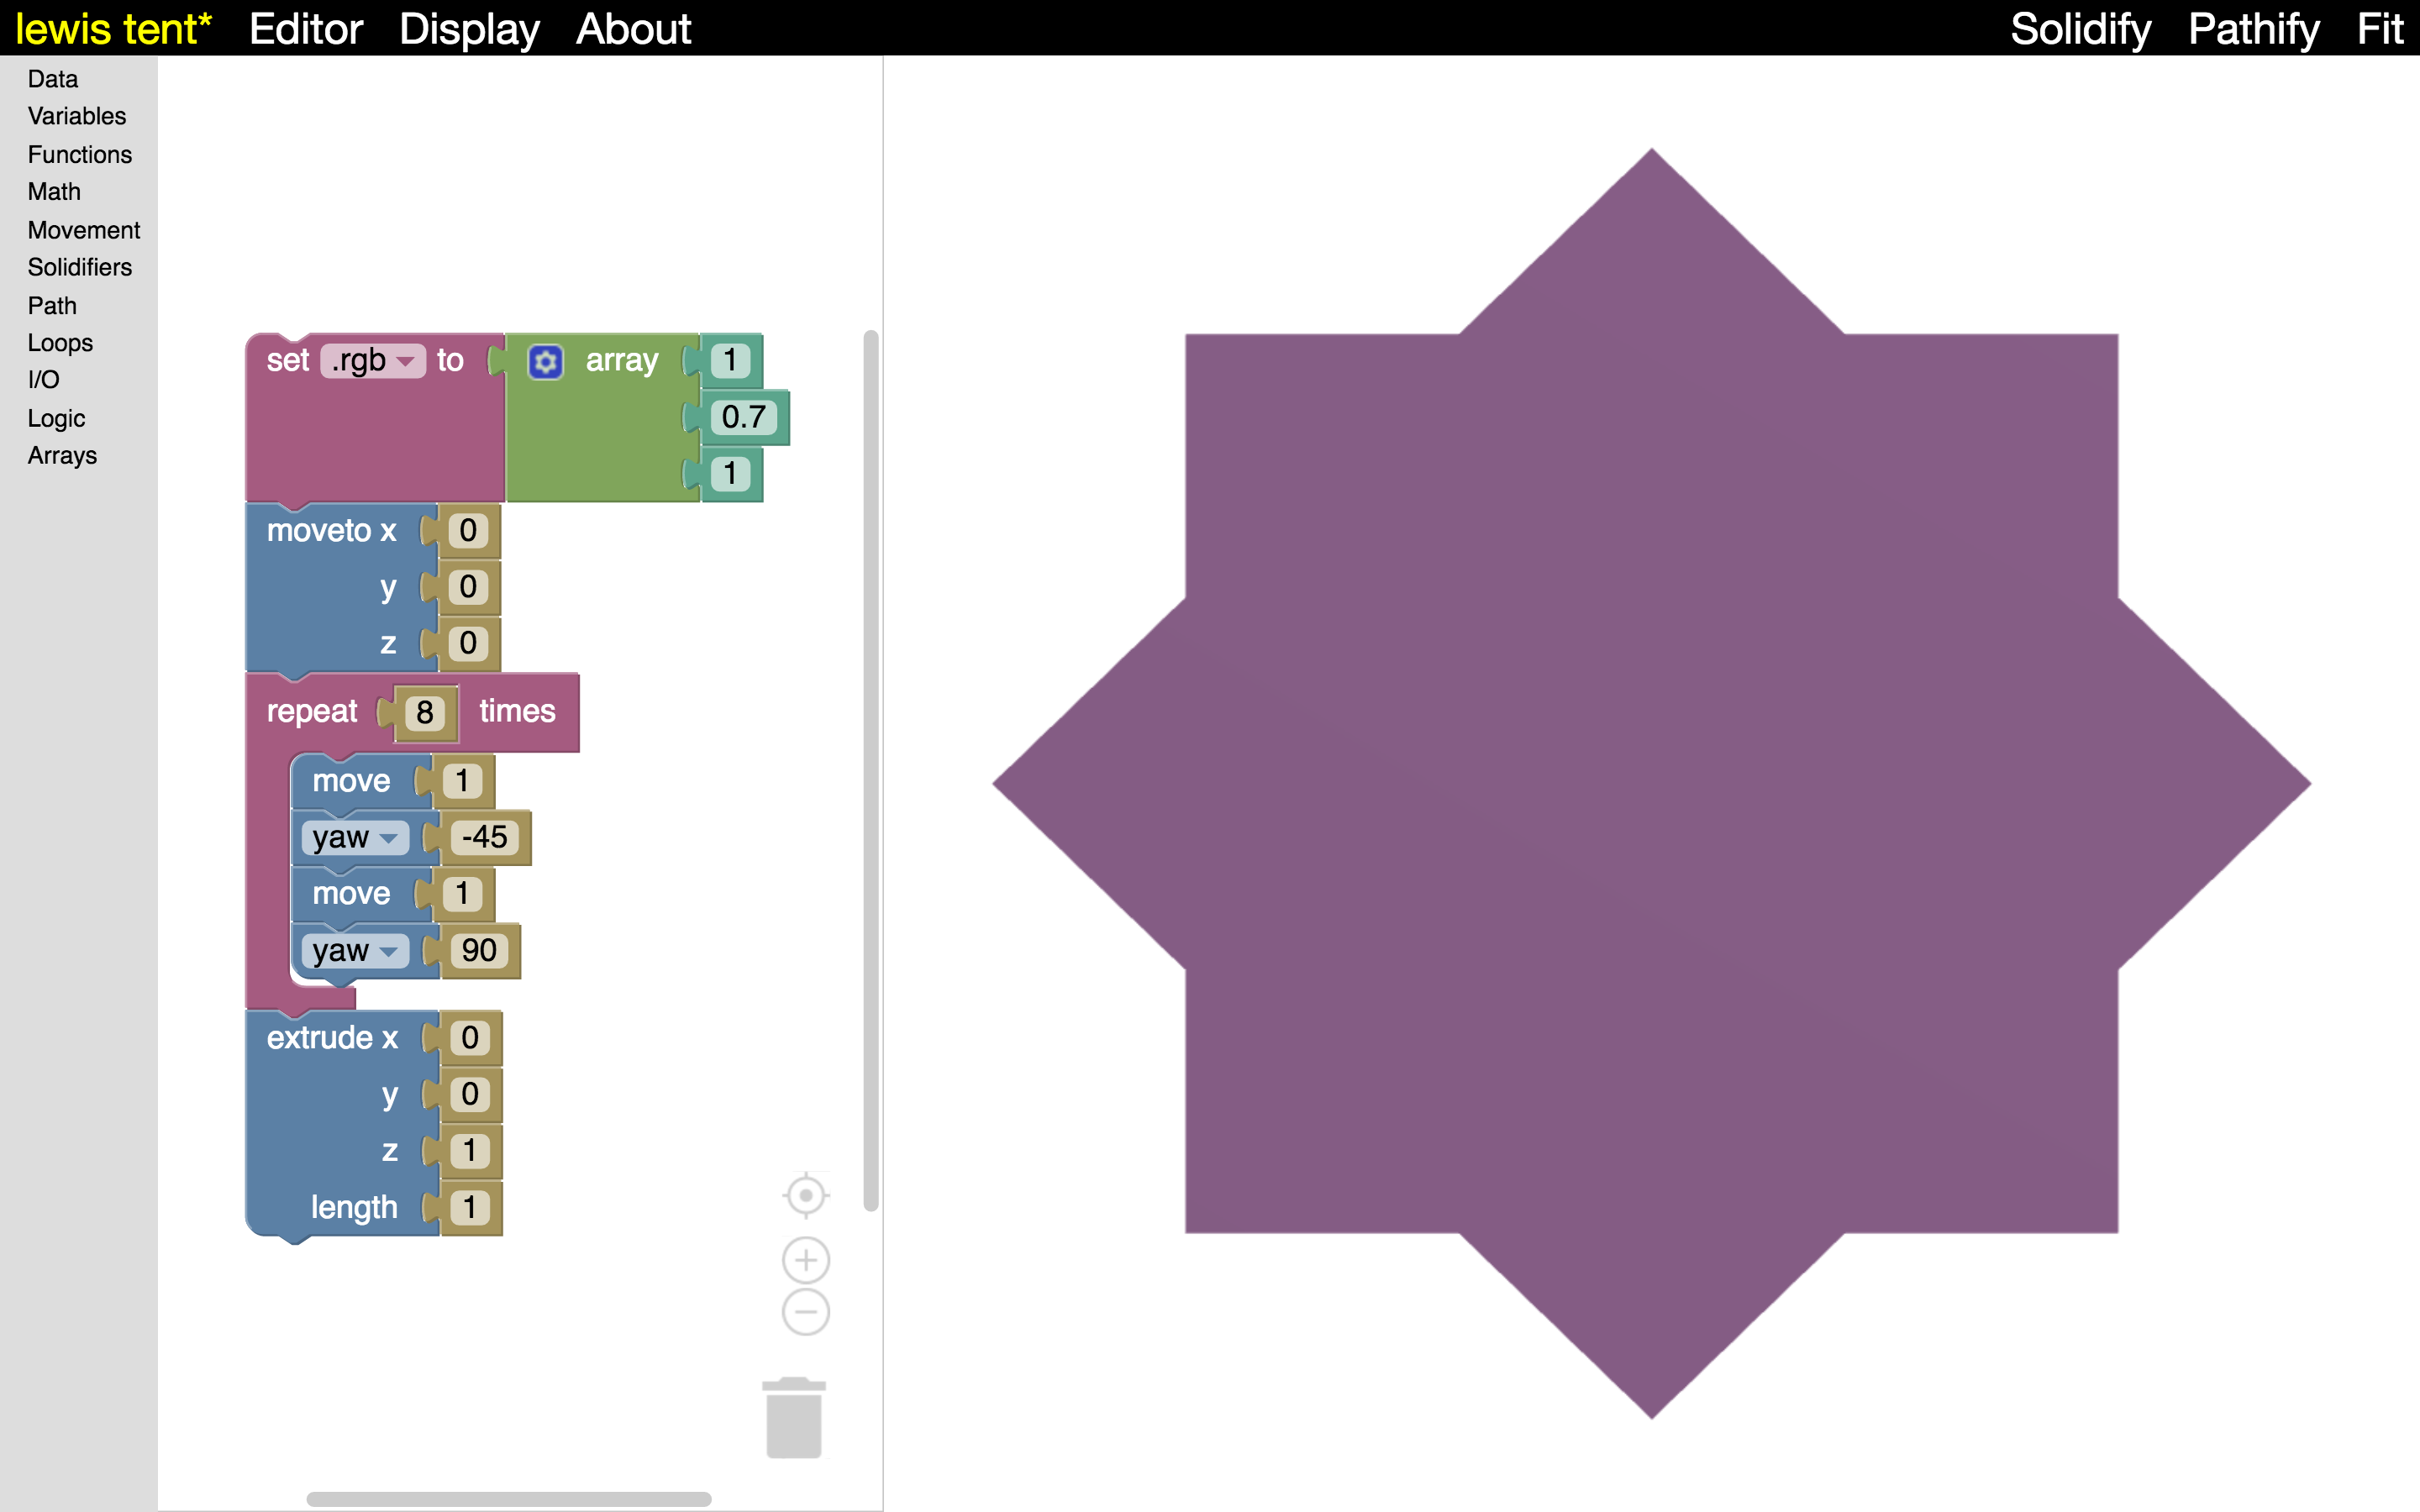
My son and I admired the design and I said, “I bet we could make that in Madeup.” The next day he sat down and wrote this program in one pass without any help from me. This isn’t the kind of thing 7-year-olds should be able to do. How did he do it? He used a tool that taught isn’t really a tool at all. Madeup, like code in general, is a language. Without language, all we can do is repeat what others have said. With it, we can finally figure out what’s going on in these brains of ours.
If you can’t think of any questions, here are some you might ask me:
- What are your plans for Madeup?
- Can I use Madeup?
- How long did it take you to create Madeup?
- What’s the coolest thing you ever made?